How To Make An Envelope With Wrapping Paper: A Simple And Creative Guide
Do you ever find yourself staring at a pile of leftover wrapping paper after the holidays, wondering what to do with it? Well, here's a fun and practical idea—making your own envelopes! Yes, you heard that right. Turning wrapping paper into envelopes is not only eco-friendly but also a fantastic way to upcycle those beautiful designs. Plus, who doesn’t love a personalized touch on their gifts or letters?
Creating an envelope with wrapping paper is easier than you think. It doesn’t require any fancy tools or advanced skills. All you need is some creativity, a little patience, and this step-by-step guide. Whether you're planning to send a heartfelt note to a loved one or simply want to add a personal flair to your gift-giving, this article has got you covered.
So, let’s dive in! By the end of this article, you’ll have all the knowledge and confidence you need to craft stunning envelopes that will impress anyone who receives them. Who knows? You might even start a new tradition of DIY envelope-making in your family.
- Lexi Marvel Nude A Candid Look At The Misleading Headline And Its Implications
- Discover The Hidden Gem La Villa De Littleangel
Why Should You Make Your Own Envelopes?
Before we get into the nitty-gritty of how to make an envelope with wrapping paper, let’s talk about why you should consider this fun activity. First off, it’s incredibly budget-friendly. Instead of buying pre-made envelopes, you can use the wrapping paper you already have lying around. Plus, it’s a great way to reduce waste and be more environmentally conscious.
Another reason to love this project is the personalization factor. With so many unique wrapping paper designs available, your envelopes can reflect your personality or match the theme of the occasion. Whether it’s a birthday, anniversary, or just a random Tuesday, your recipients will appreciate the extra effort and thoughtfulness.
What You’ll Need to Get Started
To make an envelope with wrapping paper, you’ll need a few basic supplies. Don’t worry; most of these items are probably already in your craft drawer. Here’s a quick rundown:
- Sophie Xdt Leak The Untold Story Behind The Viral Phenomenon
- Unveiling The Truth Behind Astrid Nelsia Leak A Deep Dive
- Wrapping paper (your choice of design)
- Scissors
- A ruler or measuring tape
- A pencil or pen
- Glue or double-sided tape
- A bone folder or any flat tool for creasing (optional but helpful)
Pro tip: If you’re using thicker wrapping paper, consider pre-creasing the folds with a bone folder or a similar tool. This will help create crisp edges and make your envelope look more polished.
Step-by-Step Guide: Making an Envelope
Now that you’ve gathered your materials, let’s walk through the process of making an envelope. Follow these simple steps, and you’ll have a beautiful envelope in no time!
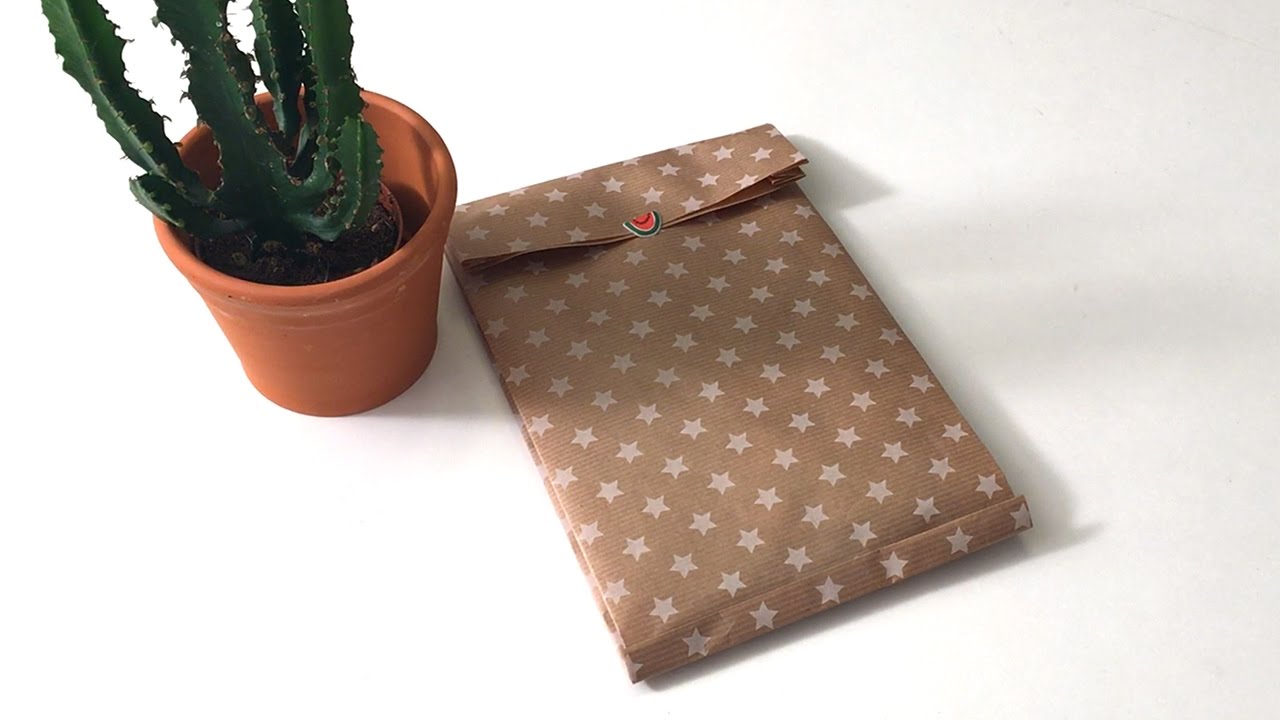
Step 1: Choose Your Wrapping Paper
Pick a wrapping paper design that suits the occasion or the recipient’s taste. Remember, the envelope will be the first thing they see, so choose wisely. You can even mix and match patterns for a fun, eclectic look.
Step 2: Measure and Cut
Using a ruler, measure and cut a square piece of wrapping paper. The size will depend on the intended use of the envelope. For a standard letter-sized envelope, a 9x9 inch square should work perfectly.
Step 3: Create the Folds
Now comes the fun part—folding! Start by folding one corner of the square to the opposite corner, forming a triangle. Crease the fold well, then unfold it. Repeat this process with the other two corners. You should now have an X-shaped crease on your paper.
Step 4: Form the Envelope Shape
Next, fold the bottom edge of the square up to meet the center crease. Do the same with the top edge. You should now have a rectangle with two flaps on the sides. Fold these side flaps inward, overlapping them slightly to form the sides of the envelope.
Step 5: Secure the Flaps
Apply glue or double-sided tape to the edges of the side flaps and press them together firmly. This will hold the envelope shape in place. Be careful not to use too much glue, as it can warp the paper.
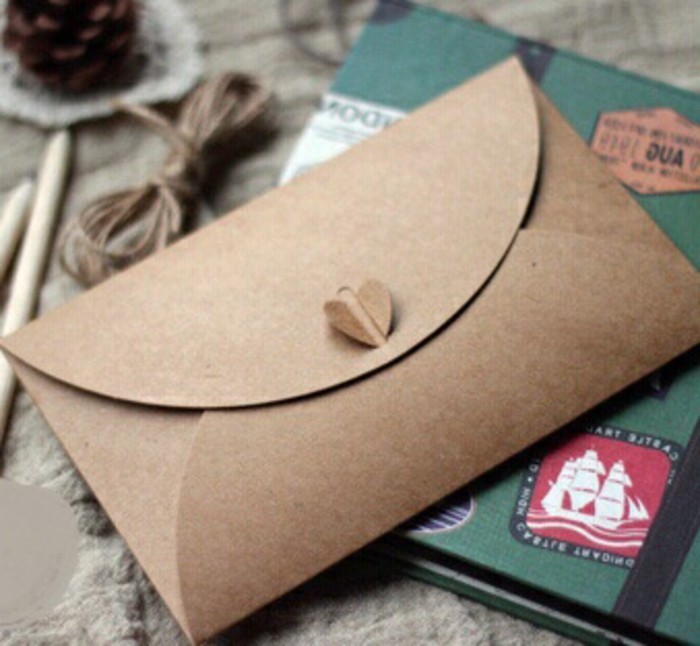
Step 6: Add the Closure
For the final touch, add a small piece of adhesive or a sticker to the top flap to keep the envelope closed. You can also use a ribbon or string for a more decorative closure.
Tips and Tricks for Perfect Envelopes
Creating envelopes with wrapping paper is a straightforward process, but there are a few tips and tricks that can take your craft to the next level. Here are some ideas to enhance your envelope-making experience:
- Experiment with different paper textures and weights to see what works best for you.
- Use decorative scissors to create unique edge designs on your envelopes.
- Add embellishments like stickers, washi tape, or stamps for a personalized touch.
- Consider making envelopes in bulk for future use, especially during the holiday season.
Remember, practice makes perfect. Don’t be discouraged if your first few attempts don’t turn out exactly as planned. With a little practice, you’ll be crafting flawless envelopes in no time!
Common Mistakes to Avoid
Even the most experienced crafters make mistakes from time to time. Here are a few common pitfalls to watch out for when making envelopes with wrapping paper:
- Using too much glue, which can cause the paper to wrinkle or tear.
- Not creasing the folds properly, resulting in a less structured envelope.
- Choosing paper that’s too thin or fragile, making it prone to tearing.
By being mindful of these potential issues, you can ensure that your envelopes turn out looking sharp and professional.
How to Customize Your Envelopes
One of the best things about making your own envelopes is the ability to customize them to your heart’s content. Here are a few ideas to inspire your creativity:
Idea 1: Seasonal Themes
Match your envelopes to the season or holiday. For example, use snowflake patterns for winter, floral designs for spring, and autumn leaves for fall.
Idea 2: Monogramming
Add a personal touch by monogramming the envelopes with the recipient’s initials. You can use stamps, stencils, or even hand-draw the letters.
Idea 3: Texture and Dimension
Experiment with adding texture to your envelopes. Try using embossing tools, layering different papers, or incorporating 3D elements like buttons or beads.
The Benefits of DIY Envelopes
Making your own envelopes offers numerous benefits beyond just saving money. Here are a few reasons why this craft is worth trying:
- It’s a great way to reduce waste by repurposing leftover wrapping paper.
- You can create envelopes that perfectly match your gifts or stationery.
- It’s a fun and relaxing activity that can be done alone or with friends and family.
Plus, there’s something incredibly satisfying about sending someone a handmade envelope. It shows that you care enough to put in the extra effort, and that’s a message worth delivering.
Where to Find Inspiration
If you’re looking for more ideas and inspiration, there are plenty of resources available. Check out craft blogs, YouTube tutorials, and social media platforms like Pinterest and Instagram. You’ll find endless examples of creative envelope designs and techniques to try.
Don’t forget to join online crafting communities where you can share your projects and learn from others. The more you engage with the crafting world, the more ideas you’ll discover.
Conclusion: Start Crafting Today!
And there you have it—a comprehensive guide to making envelopes with wrapping paper. By following these steps and tips, you can create beautiful, personalized envelopes that will impress anyone who receives them. Not only is this craft eco-friendly and budget-friendly, but it’s also a wonderful way to express your creativity and thoughtfulness.
So, what are you waiting for? Grab your supplies and start crafting today! And don’t forget to share your creations with us in the comments below. We’d love to see what you come up with. Happy crafting!
Table of Contents
- Why Should You Make Your Own Envelopes?
- What You’ll Need to Get Started
- Step-by-Step Guide: Making an Envelope
- Tips and Tricks for Perfect Envelopes
- Common Mistakes to Avoid
- How to Customize Your Envelopes
- The Benefits of DIY Envelopes
- Where to Find Inspiration
- Conclusion: Start Crafting Today!

Detail Author:
- Name : Prof. Gerry Schumm
- Username : newton77
- Email : bahringer.tyrell@hotmail.com
- Birthdate : 1984-04-14
- Address : 289 Daugherty Ferry Suite 135 Thompsonview, TX 69109-4139
- Phone : 408.222.0403
- Company : Mayer-Lemke
- Job : Manager of Food Preparation
- Bio : Ut quis deserunt dicta architecto dolorem. Id eum quo ea inventore explicabo. Provident hic autem cum illum voluptatem sit. Rem veritatis consequatur corporis quo.
Socials
instagram:
- url : https://instagram.com/michale3096
- username : michale3096
- bio : Deleniti ut architecto voluptate. Molestias ex quam laboriosam consectetur unde voluptas dolor.
- followers : 4178
- following : 1234
tiktok:
- url : https://tiktok.com/@michalehaley
- username : michalehaley
- bio : Quasi adipisci autem pariatur.
- followers : 1508
- following : 432
twitter:
- url : https://twitter.com/michale_haley
- username : michale_haley
- bio : Ut nisi eos eligendi. Consequatur eum nemo minima eum fugit. Non vel sint ut non. Sed praesentium est eos.
- followers : 6425
- following : 2132
facebook:
- url : https://facebook.com/mhaley
- username : mhaley
- bio : Corporis ut dignissimos fugit eaque itaque exercitationem est.
- followers : 4589
- following : 2699
