How To Draw A Teddy Bear: A Step-by-Step Guide For Everyone
Let’s face it, drawing a teddy bear is one of those things that sounds simple but can get super tricky if you don’t have the right approach. Whether you’re a beginner or just looking to sharpen your skills, learning how to draw a teddy bear—or as the French say, "dessiner un nounours"—can be a fun and rewarding experience. So, grab your pencils and let’s dive right in!
You might be thinking, “Why teddy bears? Why not something cooler like dragons or cars?” Well, my friend, teddy bears are classic. They’re adorable, soft, and full of charm. Plus, they’re a great way to practice curves, proportions, and shading—all essential skills for any artist. So, even if you’re not planning on becoming the next Picasso, this guide will give you some serious artistic chops.
Now, before we get started, let me tell you something important. Drawing isn’t about being perfect—it’s about expressing yourself and having fun. So, don’t stress if your first attempts don’t turn out exactly like the pictures. That’s part of the journey. And hey, by the end of this article, you’ll be sketching teddy bears that look like they just stepped out of a storybook!
- Team Nasdas Nude Unveiling The Truth Behind The Controversy
- Why The Asics Gelnyc Rose Is Every Runners Dream Shoe
Table of Contents
- The Fascinating History of Teddy Bears
- Gathering Your Tools: What You’ll Need
- Understanding the Basics of Drawing
- Step-by-Step Guide to Drawing a Teddy Bear
- Pro Tips for Perfecting Your Teddy Bear Art
- Exploring Different Styles of Teddy Bear Art
- Adding Depth with Shading Techniques
- Bringing Your Teddy Bear to Life with Colors
- The Importance of Practice and Patience
- Additional Resources for Aspiring Artists
The Fascinating History of Teddy Bears
Before we put pencil to paper, it’s always nice to know a bit about the subject we’re drawing. Teddy bears have a rich and heartwarming history that dates back to the early 1900s. They were originally inspired by a cartoon of President Theodore Roosevelt refusing to shoot a bear during a hunting trip. From there, the iconic plush toy was born, and it quickly became a symbol of comfort and love worldwide.
Over the years, teddy bears have evolved into countless styles and designs, from the classic soft and cuddly ones to modern collectibles. Each one carries its own unique charm, making them a perfect subject for artistic exploration.
Why Are Teddy Bears So Popular?
There’s something magical about teddy bears. They evoke feelings of nostalgia and warmth, which is why they remain so beloved across generations. Whether you’re drawing a classic teddy bear or creating your own unique design, understanding their cultural significance can add depth to your artwork.
- Coca Vin Rouge The Ultimate Guide To This Trendy Beverage
- Queen Of Pain Hayase Nagatoro Rule 64 The Untold Story You Need To Know
Gathering Your Tools: What You’ll Need
Alright, now that we’ve got the history lesson out of the way, let’s talk tools. You don’t need a fancy art studio to draw a teddy bear. In fact, you probably already have everything you need lying around the house. Here’s a quick list:
- Pencils (HB, 2B, 4B for varying shades)
- Eraser (a kneaded eraser works wonders)
- Sketchbook or plain paper
- Colored pencils or markers (optional, for coloring)
- Blending tools like tortillons or cotton swabs (for shading)
Remember, the quality of your tools doesn’t matter as much as your enthusiasm. Even a simple pencil and paper can produce amazing results if you put your heart into it.
Understanding the Basics of Drawing
Before we jump into the specifics of drawing a teddy bear, let’s cover some fundamental principles of drawing. These basics will help you create more dynamic and realistic artwork:
- Proportions: Pay attention to the size relationships between different parts of the bear.
- Shapes: Break down complex objects into simpler shapes (circles, ovals, rectangles).
- Perspective: Consider the angle from which you’re viewing the bear.
- Shading: Use light and shadow to add depth and dimension.
Once you’ve got these basics down, you’ll find that drawing anything—including teddy bears—becomes much easier.
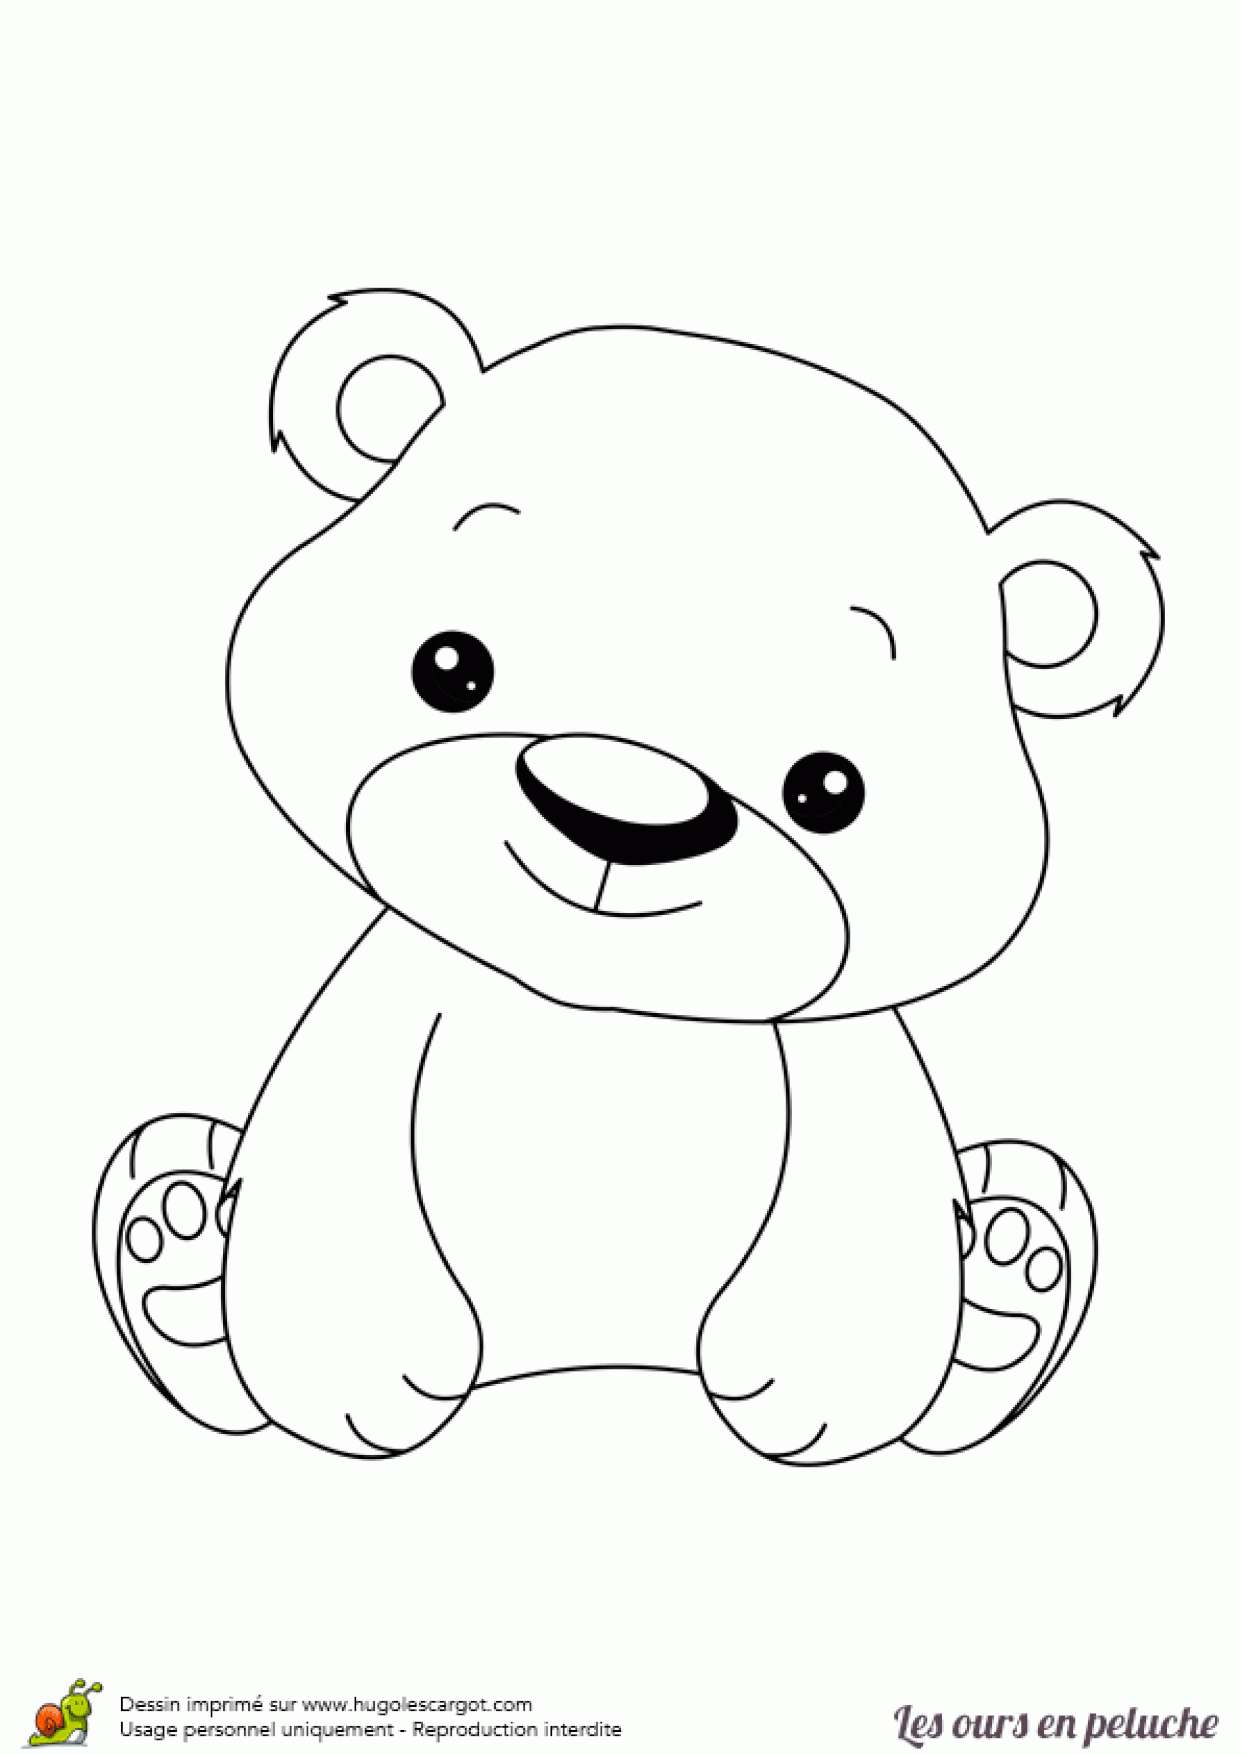
Step-by-Step Guide to Drawing a Teddy Bear
Now, let’s get to the good stuff. Follow these steps to draw a cute and cuddly teddy bear:
Step 1: Sketch the Basic Shapes
Start by drawing a large oval for the body and a smaller circle for the head. Connect them with gentle curves to form the neck. Don’t worry about perfection at this stage—these are just guidelines.
Step 2: Add the Facial Features
Draw two small ovals for the eyes and a tiny heart or circle for the nose. Then, sketch a curved line for the mouth. Keep it simple and playful to capture that teddy bear charm.
Step 3: Outline the Limbs
Use soft, rounded shapes to create the arms and legs. Remember, teddy bears are all about curves, so avoid sharp angles.
Step 4: Refine the Details
Erase any unnecessary guidelines and refine the outline of your bear. Add details like paws, ears, and any accessories you want to include (like a ribbon or bow).
Step 5: Shade and Texture
Use your pencils to add shading and texture. Pay attention to where the light hits the bear and where shadows fall. This will make your drawing pop!
Pro Tips for Perfecting Your Teddy Bear Art
Here are a few extra tips to take your teddy bear drawings to the next level:
- Study real teddy bears or photos to observe their shapes and textures.
- Experiment with different poses to keep your art fresh and interesting.
- Practice regularly to improve your skills and confidence.
- Don’t be afraid to make mistakes—they’re part of the learning process!
Exploring Different Styles of Teddy Bear Art
Once you’ve mastered the basics, why not try out some different styles? Here are a few ideas:
- Cartoon Style: Exaggerate features for a fun, whimsical look.
- Realistic Style: Focus on details and shading for a lifelike appearance.
- Minimalist Style: Simplify shapes and lines for a modern aesthetic.
Each style offers its own set of challenges and rewards, so don’t be afraid to experiment and find what works best for you.
Adding Depth with Shading Techniques
Shading is what gives your drawings depth and dimension. Here are a few techniques to try:
- Hatching: Draw parallel lines to create shadows.
- Cross-Hatching: Layer lines in different directions for darker shades.
- Stippling: Use dots to build up texture and shadow.
Play around with these techniques to see which ones you prefer. The key is to practice and observe how light interacts with different surfaces.
Bringing Your Teddy Bear to Life with Colors
If you want to add color to your teddy bear, here are some tips:
- Choose a color palette that reflects the mood you want to convey.
- Layer colors to create depth and richness.
- Use highlights and shadows to enhance the three-dimensional effect.
Whether you’re using colored pencils, markers, or paints, the possibilities are endless. Let your creativity run wild!
The Importance of Practice and Patience
Like anything worth doing, drawing takes practice. Don’t get discouraged if your first attempts don’t turn out exactly as you hoped. Every artist starts somewhere, and with time and patience, you’ll see improvement.
Set aside regular time to practice, even if it’s just a few minutes a day. Over time, those small efforts will add up to big results. And remember, the journey is just as important as the destination.
Additional Resources for Aspiring Artists
Here are a few resources to help you on your artistic journey:
- Books: Check out titles like “Drawing on the Right Side of the Brain” by Betty Edwards.
- Online Tutorials: Websites like YouTube and Skillshare offer countless free tutorials.
- Art Communities: Join online forums or local groups to connect with other artists and share your work.
Surrounding yourself with inspiration and support can make all the difference in your artistic growth.
Conclusion
Well, there you have it—a comprehensive guide to drawing a teddy bear. From understanding the basics to adding color and texture, you now have the tools and knowledge to create your own cuddly masterpieces. Remember, practice makes perfect, so keep at it and don’t be afraid to make mistakes.
Now, it’s your turn! Grab your pencils and start sketching. And when you’re done, share your work with the world. Who knows? Your teddy bear drawing might just bring a smile to someone’s face—and isn’t that what art is all about?
So, what are you waiting for? Let’s get drawing!


Detail Author:
- Name : Karelle Koch DVM
- Username : claire.donnelly
- Email : izabella.medhurst@hotmail.com
- Birthdate : 1996-08-27
- Address : 6313 Amina Falls New Jerrold, WI 67038-2923
- Phone : +1 (531) 693-5181
- Company : Konopelski-Klein
- Job : Production Manager
- Bio : Animi sunt laudantium molestiae aut. Illo quidem qui veritatis totam sapiente fugit dignissimos non.
Socials
facebook:
- url : https://facebook.com/alannagleichner
- username : alannagleichner
- bio : Rerum recusandae aliquid quo mollitia asperiores dolores in sit.
- followers : 6394
- following : 76
linkedin:
- url : https://linkedin.com/in/agleichner
- username : agleichner
- bio : Facere nesciunt porro eveniet cum delectus.
- followers : 2634
- following : 2168
twitter:
- url : https://twitter.com/gleichner2003
- username : gleichner2003
- bio : Velit perferendis id ipsam earum temporibus consequuntur. Dolorem modi facilis dolorem illum quam.
- followers : 5929
- following : 1786
instagram:
- url : https://instagram.com/alannagleichner
- username : alannagleichner
- bio : Molestiae saepe impedit eum. Doloribus aspernatur ex magnam non odit quis sequi.
- followers : 2113
- following : 2828
tiktok:
- url : https://tiktok.com/@alanna.gleichner
- username : alanna.gleichner
- bio : Repellat eum eos repellat nemo delectus. Enim sint modi dicta at.
- followers : 4366
- following : 2967
